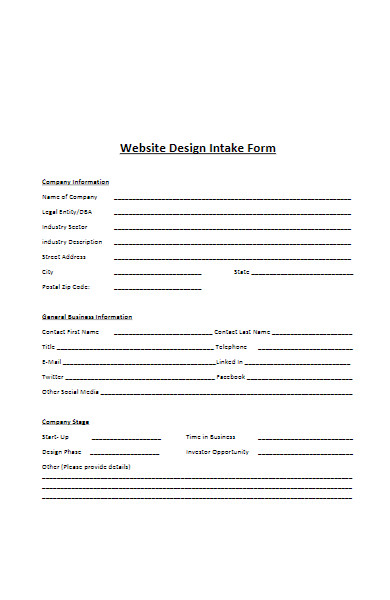
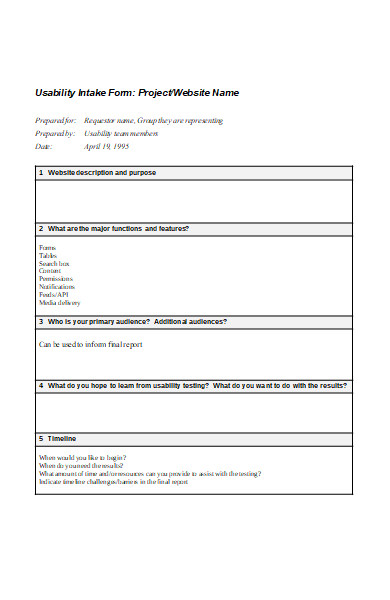
A Website Intake Form is the strategic blueprint for web developers and clients to align on vision and objectives. It’s the critical first step in web design, where clients articulate their needs, preferences, and goals. This form varies from basic questionnaires to detailed briefs, each tailored to gather project-specific information. We’ll dissect its meaning, examine types, showcase examples, and guide you through creation. Plus, we’ll share insider tips to craft a form that ensures a smooth, efficient project launch.
What is a Website Intake Form ? – Definition
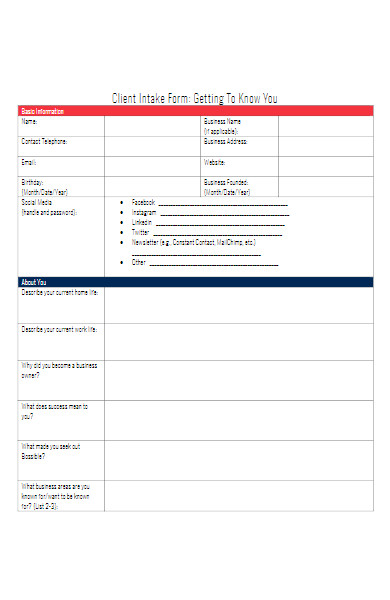
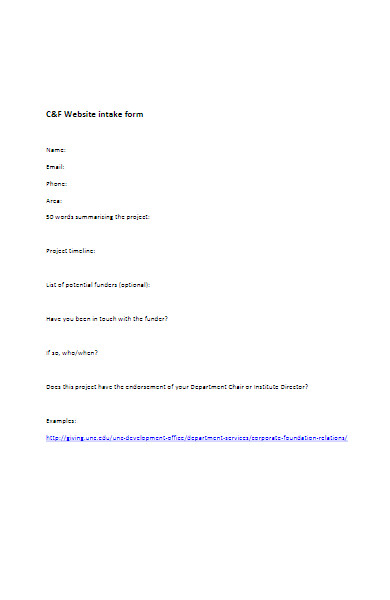
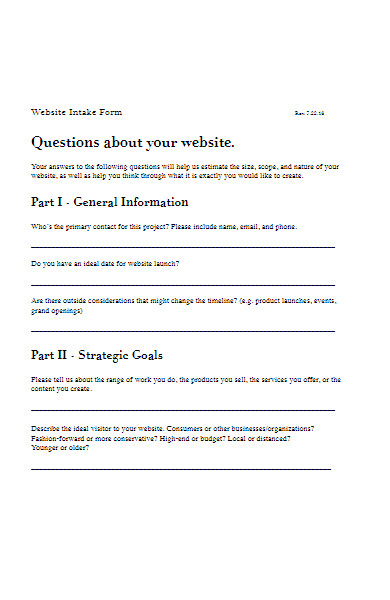
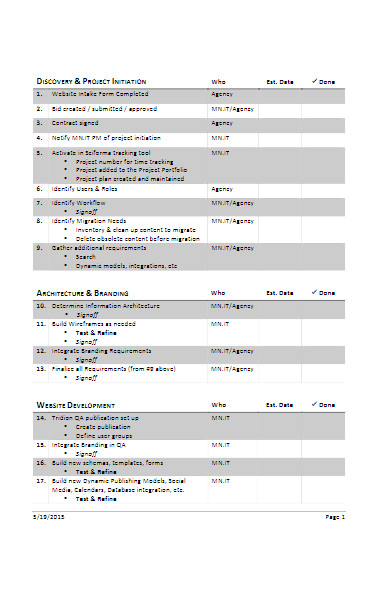
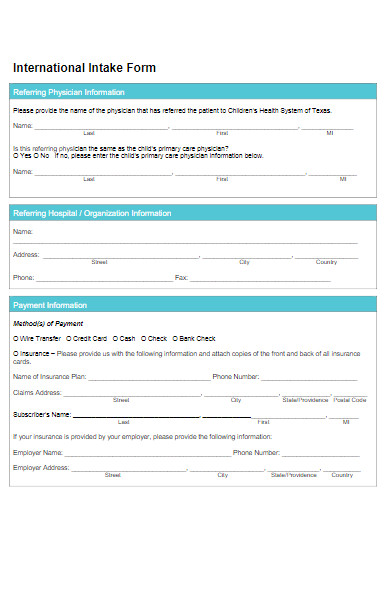
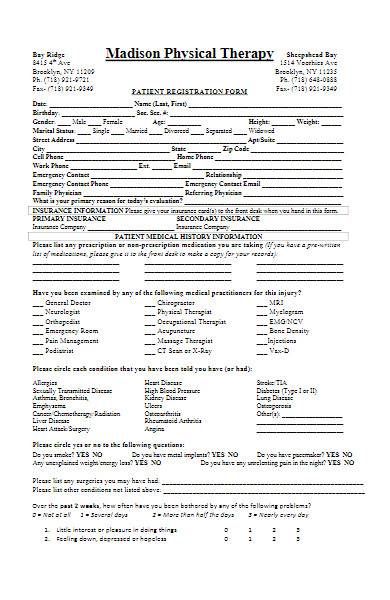
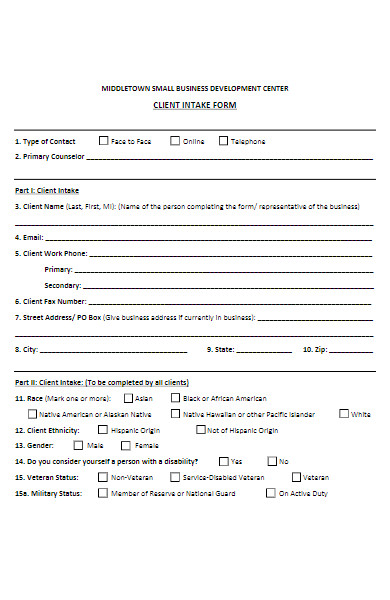
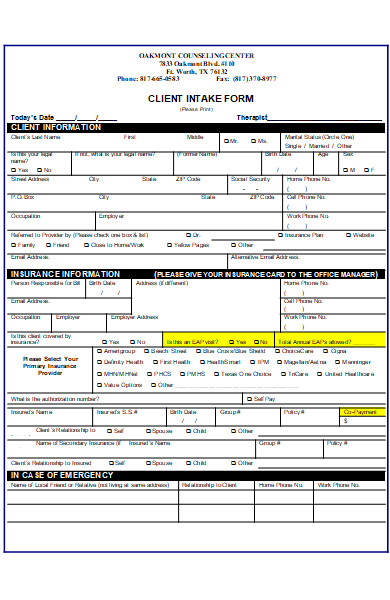
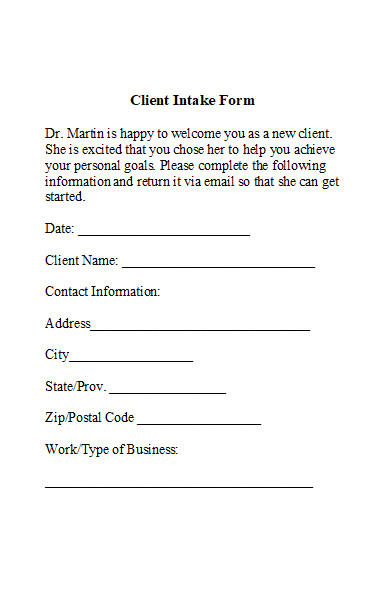
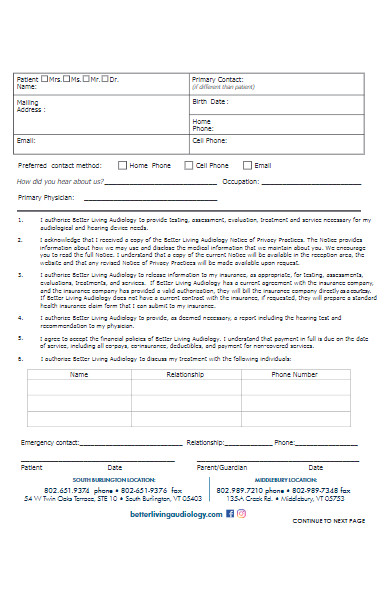
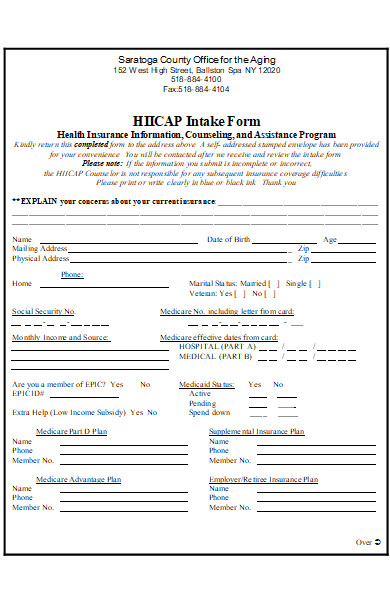
A Website Intake Form is a comprehensive questionnaire designed to gather essential information from a client before starting a website project. It serves as a structured guide for clients to provide details about their business, target audience, design preferences, functionality requirements, and goals for the website. These printable form enables web developers and designers to gain a deep understanding of the project scope, ensuring that the final product aligns with the client’s vision and objectives. It’s a foundational tool for effective communication and project planning in the web development process.
What is the Meaning of a Website Intake Form?
The meaning of a Website Intake Form lies in its role as a critical communication bridge between a client and a web development team. It’s a tool that captures the client’s vision, goals, and specific needs for their website, translating abstract ideas into actionable information. These fillable form ensures that the developers have a clear understanding of what the client expects, which features are important, and what the website must achieve. Essentially, it’s the starting point that sets the tone for the entire web development journey, ensuring all parties are aligned from the get-go.
What is the Best Sample Website Intake Form?
Creating an effective Website Intake Form involves several key steps to ensure you capture all the necessary information for a successful web project. Here’s a step-by-step guide to what this might include:
Step 1: Client and Business Information
- Client Name
- Company Name
- Industry
- Contact Information: Email and phone number.
Step 2: Project Goals
- Primary Objective: What is the main goal of the website (e.g., to inform, sell products, collect leads)?
- Measurable Outcomes: How will the success of the website be measured?
Step 3: Target Audience
- Demographics: Age, gender, location, etc.
- Psychographics: Interests, lifestyle, values, etc.
- User Needs: What does the target audience need from the website?
Step 4: Design Preferences
- Visual Style: Modern, professional, whimsical, etc.
- Color Scheme: Preferred colors or brand guidelines.
- Layout Preferences: Any specific design layouts the client admires.
Step 5: Content Requirements
- Content Strategy: Will the client provide content, or will it be created by the team?
- Key Messages: What are the core messages to communicate?
Step 6: Functional Requirements
- Features: Forms, e-commerce, galleries, etc.
- User Interactions: What actions should users be able to perform?
Step 7: Technical Specifications
- Domain Name: Does the client have an existing domain?
- Hosting: Are there existing hosting arrangements?
- CMS Preferences: Specific content management system requirements.
Step 8: Competitor Analysis
- Competitor Websites: What are the competitors doing well?
- Differentiators: How should this website stand out from competitors?
Step 9: Budget and Timeline
- Budget Range: Understanding the client’s budget helps tailor solutions.
- Project Timeline: Expected project start and end dates.
Step 10: Additional Information
- SEO and Marketing: Does the client need SEO or marketing services?
- Maintenance and Support: Post-launch support requirements.
Step 11: Client Expectations
- Vision: Any additional expectations or visions for the website.
- Concerns: Any particular concerns or challenges the client foresees.
Step 12: Confirmation and Next Steps
- Acknowledgment: Client confirms the information is accurate.
- Submission Instructions: How to return the form to the development team.
This structured approach ensures that the web development team has a thorough understanding of the project before beginning, setting the stage for a successful website launch. You also browse our Client intake forms.
FREE 16+ Website Intake Forms
What is an Intake Form on a Website?
An intake form on a website is a digital questionnaire or form used to collect specific information from visitors or potential clients. It’s designed to gather the necessary details to understand the visitor’s needs, preferences, or the nature of the service they require. These blank form is crucial for businesses to qualify leads, streamline client onboarding, and tailor services or responses to each individual’s inquiry efficiently. It’s the first step in the client-service provider interaction, setting the stage for a structured and informed engagement.
How do I create an online intake form?
Creating an online intake form involves several steps to ensure it is user-friendly, efficient, and gathers the necessary information:
Step 1: Define the Purpose
- Determine what information you need and why. This will guide the questions you include.
Step 2: Choose a Platform
- Decide whether to use form builders like Google Forms, Typeform, or integrated tools in CRM software.
Step 3: Design the Form
- Create a clean layout that’s easy to navigate.
- Ensure your form is branded with your company’s logo and color scheme.
Step 4: Draft the Questions
- Write clear, concise questions that are easy to understand.
- Use a mix of question types (e.g., multiple choice, open-ended, dropdown).
Step 5: Organize the Flow
- Arrange questions logically, from general to specific.
- Group related questions to make the form easier to complete.
Step 6: Keep it Concise
- Only ask for information that’s absolutely necessary to avoid overwhelming the respondent.
Step 7: Test for Usability
- Ensure the form works well on different devices, especially mobile.
- Check that form fields accept the correct type of input.
Step 8: Include Instructions
- Provide clear instructions for how to fill out the form and what each section is for.
Step 9: Add a Privacy Statement
- Include a note on how you will use and protect the submitted information.
Step 10: Set Up Notifications
- Configure the form to send you and the submitter a confirmation email upon completion.
Step 11: Embed or Link the Form
- Place the form on your website where it’s easy to find, such as a dedicated page or a prominent section.
Step 12: Test and Launch
- Do a final test to ensure everything is working correctly, then launch the form on your site.
Step 13: Monitor and Adjust
- Regularly check the responses to ensure you’re gathering the data you need and make adjustments as necessary.
By following these steps, you can create an effective online intake form that serves your business needs and provides a positive experience for your users.
What are intake forms?
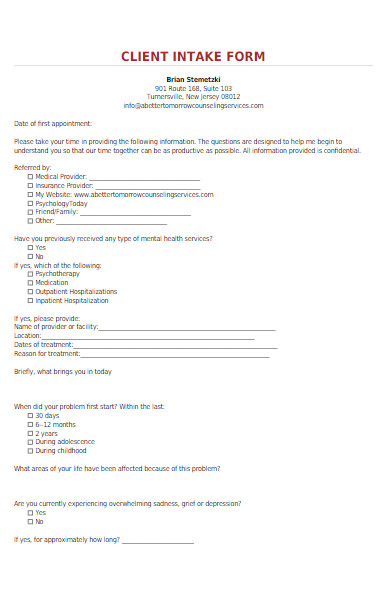
Intake forms are standardized documents or digital forms used to collect specific information from individuals before providing a service or consultation. They are commonly used in healthcare, legal, and business settings to gather personal details, preferences, needs, and background information. The purpose of these project intake forms is to streamline the onboarding process, prepare service providers with the necessary data to serve their clients effectively, and ensure that all relevant information is captured from the outset for a more tailored and efficient interaction.
How do you write an intake form?
Writing an intake form involves a thoughtful process to ensure it collects the necessary information efficiently and respectfully. Here’s a step-by-step guide:
Step 1: Identify the Information Needed
- Determine what information is critical to your service or business needs.
Step 2: Choose a Simple Format
- Use a clear and easy-to-read font.
- Organize the form logically with sections and headings.
Step 3: Write Clear Questions
- Use straightforward language to avoid confusion.
- Make questions as specific as possible to ensure accurate responses.
Step 4: Use Different Types of Questions
- Include open-ended questions for detailed responses.
- Use closed-ended questions (like yes/no, multiple choice) for easy analysis.
Step 5: Include Essential Fields
- Personal information (name, contact details, etc.).
- Purpose of the service or nature of the inquiry.
- Relevant history or background information.
Step 6: Keep It Concise
- Avoid unnecessary questions to keep the form short and to the point.
Step 7: Ensure Accessibility
- Make sure the form is accessible to people with disabilities.
Step 8: Add a Privacy Notice
- Inform clients how their information will be used and stored.
Step 9: Test the Form
- Have colleagues or test clients fill out the form to catch any issues.
Step 10: Review and Revise
- Adjust the wording and order of questions based on feedback.
Step 11: Finalize the Design
- Add your branding and finalize the layout.
Step 12: Legal Compliance
- Ensure the form complies with any legal requirements, such as data protection laws.
Step 13: Implementation
- Decide how the form will be distributed (online, in-person, via email, etc.).
By following these steps, you can write an intake form that is effective in gathering the necessary information to begin a service or business relationship. You should also take a look at our Patient intake forms.
Why do we need an intake form?
We need an intake form for several key reasons:
- Efficient Information Gathering: It streamlines the process of collecting necessary details from clients or patients, saving time for both parties during initial consultations or appointments.
- Service Customization: The information provided helps tailor services to meet the specific needs or preferences of the individual, enhancing their experience and satisfaction.
- Preparation: Service providers can prepare for appointments in advance, ensuring they have all the resources and information needed to provide effective service.
- Record Keeping: Intake forms create a record of the client’s initial status and needs, which is useful for tracking progress over time and for future reference.
- Legal and Compliance: They can serve as a legal document, recording consent to services and acknowledgment of policies, which is important for compliance and liability protection.
- Communication: The form facilitates clear communication from the start, reducing misunderstandings and setting clear expectations for the service to be provided.
- Efficiency in Service Delivery: By having all the necessary information upfront, service providers can reduce the time spent on administrative tasks during the actual service delivery.
- Risk Management: Intake forms can identify potential risks or red flags before a service is provided, allowing for appropriate measures to be taken in advance.
Overall, intake forms are a crucial component in establishing a professional and effective service delivery process. Our Assessment forms for intake is also worth a look at
Can I use Google Forms as an intake form?
Yes, you can use Google Forms as an intake form. Google Forms is a versatile tool that allows you to create custom forms, which can be easily filled out online by clients or patients. It’s particularly useful for intake forms due to its user-friendly interface, customizable fields, and the ability to organize and analyze the collected data efficiently. Additionally, Google Forms provides the option to store responses in a spreadsheet automatically, making it simple to track and manage the information you gather. In addition, you should review our Counselling intake forms.
What is the primary purpose of filling out a Website Intake Form?
The primary purpose of filling out a Website Intake Form is to collect comprehensive information from a client regarding their needs, goals, and preferences for a new website or website redesign. This form helps web developers and designers understand the client’s vision, the functionality required, the target audience, and any specific design elements or content that should be included. It ensures that the project starts with a clear direction and that the final product aligns with the client’s expectations and business objectives.
What’s the deadline for submitting the Website Intake Form?
The deadline for submitting a Website Intake Form typically depends on the specific requirements of the project or the web development company handling the creation or redesign of a website. Generally, it is advisable to submit the form well before the project’s commencement to ensure that the web design team has enough time to understand and incorporate your needs and preferences.
However, if you’re looking for a standard guideline, it’s best to aim for submission at least a few weeks before you want the project to start. This allows for any necessary discussions or clarifications that might arise from the information provided on the form. Always check with the project manager or the contact person for the most accurate deadline. You may also be interested in our New Patient Inatke forms.
How to Create a Website Intake Form? – a Step by Step Guide
Creating a Website Intake Form is a crucial step in streamlining the process of gathering information from clients to kick-start a web development project. Here’s a step-by-step guide to help you craft an effective form:
Step 1: Define the Purpose
Before you begin, clarify the purpose of your intake form. It should aim to collect all the necessary information to understand a client’s vision, requirements, and goals for their website.
Step 2: Choose a Platform
Select a platform to create your form. Options include Google Forms, Typeform, or form builders integrated into CRM systems. Ensure the platform is user-friendly and allows for easy data collection and analysis.
Step 3: Design Your Form Layout
Create a clean and straightforward layout. Use clear headings, subheadings, and ensure the form is easy to navigate. A well-organized form encourages completion and accuracy.
Step 4: Gather Basic Information
Start with the basics:
- Client’s Name
- Company Name
- Contact Information
- Current Website URL (if applicable)
Step 5: Understand the Project Scope
Include questions that help you gauge the size and scope of the project:
- Purpose of the website (e.g., e-commerce, informational, portfolio)
- Target Audience
- Desired Launch Date
- Features and Functionalities (e.g., blog, shopping cart, booking system)
Step 6: Design Preferences
Ask about design preferences to understand the client’s aesthetic:
- Preferred Color Scheme
- Websites for Inspiration
- Must-Have Design Elements
Step 7: Content Collection
Determine what content the client will provide:
- Text Content
- Images and Videos
- Logo and Branding Materials
Step 8: Technical Requirements
Inquire about any technical specifications:
- Domain Name
- Hosting Preferences
- Integration Requirements (e.g., social media, email marketing)
Step 9: Budget and Additional Services
Understand the client’s budget and if they need additional services:
- Budget Range
- SEO Services
- Maintenance and Support
Step 10: Additional Comments
Provide a section for clients to add any additional comments or special requests.
Step 11: Review and Test
Before sending the form to clients, review it for clarity and completeness. Test the form internally to ensure all fields work as intended and the data is collected correctly.
Step 12: Implement Feedback Mechanisms
Allow for feedback on the form itself, so you can make improvements over time based on the clients’ experiences.
Step 13: Launch and Collect Responses
Once finalized, launch your form and start collecting responses. Ensure the data is stored securely and is easily accessible for the team.
Step 14: Follow-Up
After the form is submitted, have a process in place for a follow-up consultation to clarify responses and discuss the next steps.
By following these steps, you can create a comprehensive Website Intake Form that will help you gather all the necessary information to deliver a website that meets or exceeds your client’s expectations. Remember to keep the form dynamic; as your service offerings evolve, so should your intake form.
Tips for creating an Effective Website Intake Form
Creating an effective Website Intake Form is essential for streamlining the initial stages of a web development project. Here are some valuable tips to ensure your form is efficient and user-friendly:
Keep It Intuitive
- Logical Flow: Arrange questions in a logical sequence, from general to specific.
- Clear Instructions: Provide clear instructions at the beginning of the form and before complex sections.
Make It Accessible
- Mobile-Friendly: Ensure the form is responsive and can be easily filled out on various devices.
- Browser Compatibility: Test the form across different browsers for consistent performance.
Use Conditional Logic
- Smart Fields: Implement conditional logic to display or hide questions based on previous answers, reducing irrelevant questions for the client.
Limit the Length
- Essential Questions Only: Stick to questions that are absolutely necessary. Long forms can be daunting and may lead to lower completion rates.
Provide Examples
- Guidance: Offer examples or tooltips for complex questions to help clients provide the information you need.
Be Specific
- Direct Questions: Use specific, targeted questions to avoid vague or ambiguous answers.
Allow Save and Resume
- Convenience: Give clients the option to save their progress and return to complete the form later.
Include Contact Information
- Support: Provide a way for clients to reach out if they have questions or need assistance with the form.
Test and Iterate
- Feedback: Test the form internally and with a small group of clients, then use the feedback to make improvements.
Secure and Compliant
- Privacy: Ensure the form is secure and complies with data protection regulations like GDPR.
Visual Design
- Branding: Incorporate your brand’s visual elements to maintain consistency and professionalism.
Use Clear and Friendly Language
- Tone: Use a conversational tone that aligns with your brand voice to make clients feel at ease.
Offer Multiple Choice Where Possible
- Ease of Use: Use dropdowns, checkboxes, and radio buttons to make the form quicker to fill out and to standardize responses.
Provide Confirmation
- Acknowledgment: Send an automatic confirmation email once the form is submitted to acknowledge receipt and outline the next steps.
By implementing these tips, you can create a Website Intake Form that not only captures the necessary information efficiently but also enhances the client’s experience with your brand right from the start.
A Website Intake Form is a strategic tool used to gather essential information from clients for website development. It ensures that the project aligns with the client’s vision, requirements, and objectives. Types vary from basic contact forms to detailed questionnaires. Examples include fields for design preferences, technical needs, and content specifics. A well-crafted form is created by understanding the project scope, designing a user-friendly layout, and asking targeted questions. You may also be interested to browse through our other immigration intake forms and pediatric intake forms
Related Posts Here
-
FREE 4+ Immigration Intake Forms in PDF
-
FREE 4+ Project Intake Forms in PDF | MS Word
-
FREE 4+ Event Planning Intake Forms in PDF | MS Word
-
FREE 7+ Medical Intake Forms in PDF
-
Employee Dress Code Policy Form
-
Rental History Form
-
Advertising Contract Form
-
Service Agreement Form
-
Income Statement Form
-
Accident Statement Form
-
Performance Review Form
-
Event Contract Form
-
Contest Registration Form
-
Waiting List Form
-
Restaurant Schedule Form
